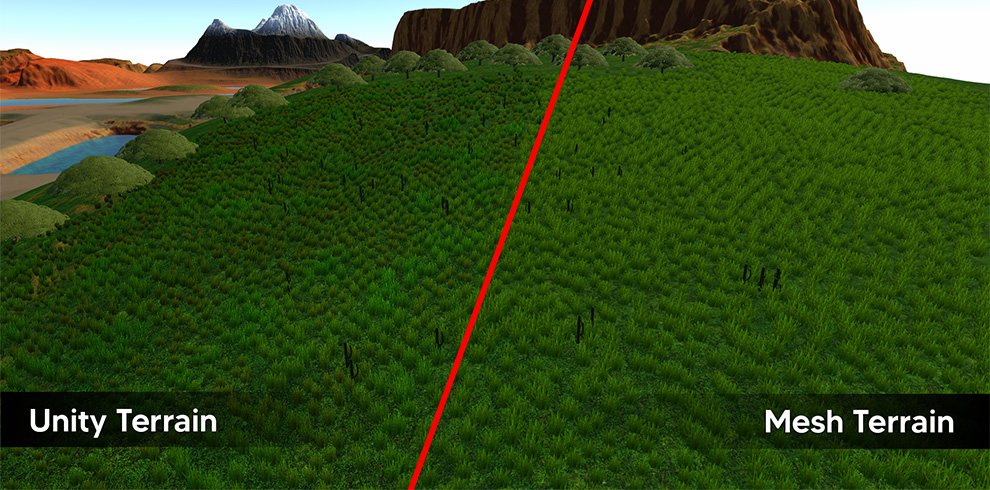
MESH TERRAIN BUILDER
Installation
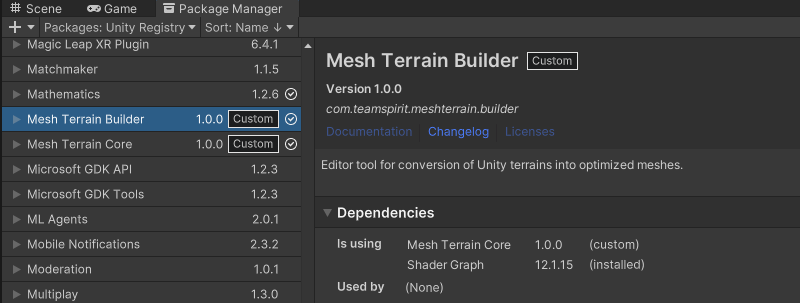
After downloading and importing the Unity Package, Mesh Terrain Builder will be installed as a UPM package
in the Packages directory along with the Mesh Terrain Core package.
To check if the packages are installed successfully, follow these steps:
1. Open the Unity Package Manager window by selecting Window > Package Manager.
2. Locate the Mesh Terrain Builder and Mesh Terrain Core packages in the list of packages.
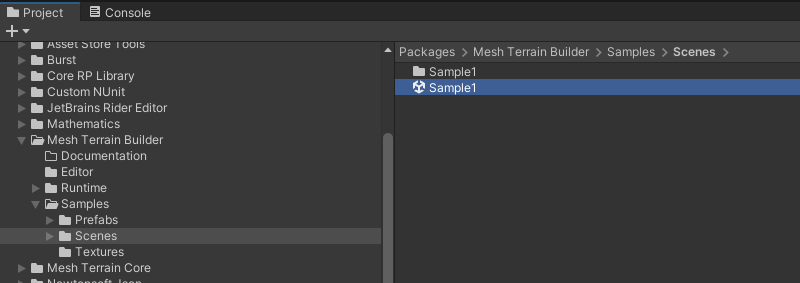
3. You can now access the samples from the Project Window, under Packages/Mesh Terrain Builder/Samples folder.
Quick Start
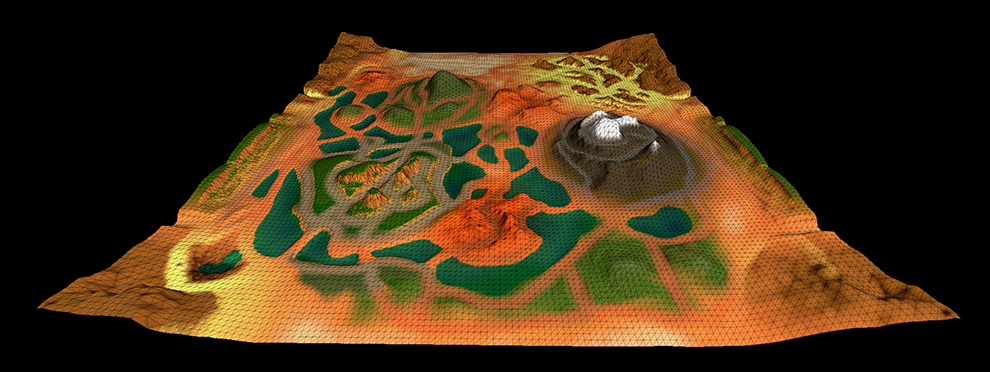
Open Sample1 scene under the Packages/Mesh Terrain Builder/Samples folder:
Click the SampleTerrain1 game object from Hierarchy and locate the Mesh Terrain Builder component in the Inspector:
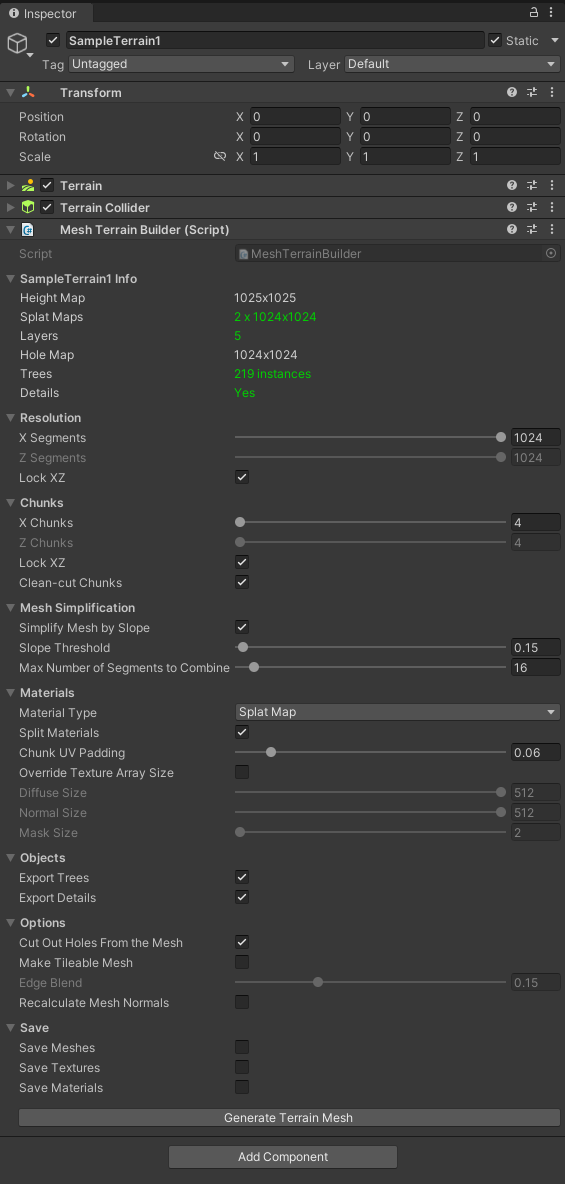
This is a Unity terrain with Mesh Terrain Builder component attached. To start converting and optimizing terrains,
you need to add the Mesh Terrain Builder component to the terrain game object.
Hitting the Generate Terrain Mesh button will start conversion with these settings.
After the conversion is complete, a new game object will be created at the same position with the terrain and
the original terrain game object will be disabled. The generated game object will have the same name with the name of the terrain data asset.
Resolution
Controls the number of surfaces to be generated along X and Z axes. This is the basic vertex density control for the generated mesh.
We limited the maximum number of segments to the maximum of height map resolution and the hole map resolution.

The resulting terrain mesh will have at most XSegments x ZSegments surfaces before simplification.
This terrain is generated with 128x128 segments, so it has 129 x 129 = 16,641 vertices.
Chunks
The terrain mesh is split into multiple chunks defined by the counts along the X and Z axes.

The maximum number of chunks that can be generated depends on other settings
such as Resolution and Mesh Simplification.
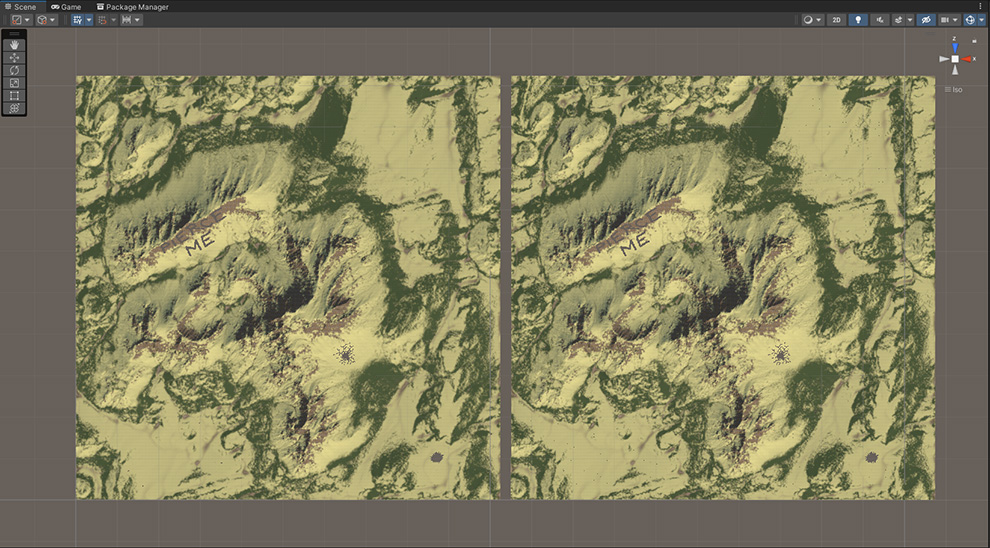
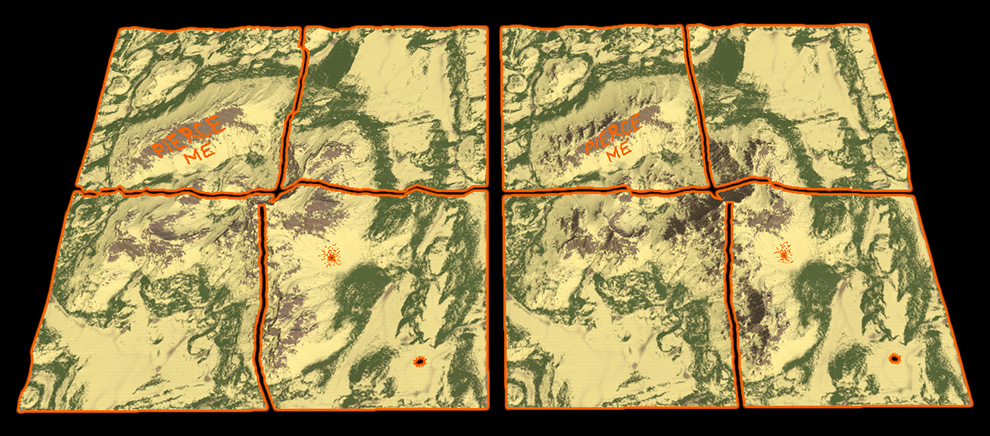
Clean-cut Chunks
If enabled, the terrain mesh will be split into straight cuts disregarding the simplified surfaces at the chunk edges.
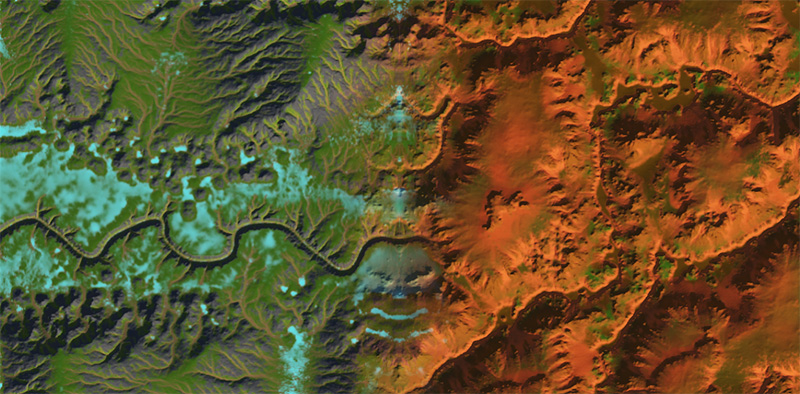
Both terrains below are generated with mesh simplification. Regular split on the left, Clean-cut split on the right:
Mesh Simplification
Settings to generate optimized meshes.

Simplify Mesh by Slope should be enabled unless for specific reasons.
If enabled, vertex density will be adjusted by the slope of the segment.
Therefore, surfaces with dramatic slope changes will have more triangles.
Segments that have a slope higher than the Slope Threshold will not be combined with the adjacent segments.
Therefore, decreasing this value will generate higher poly meshes.
Max Number of Segments to Combine value is the maximum number of segments that can be combined with the adjacent segments along X and Z axes.
This is useful to avoid large flat surfaces when the slope threshold is high.
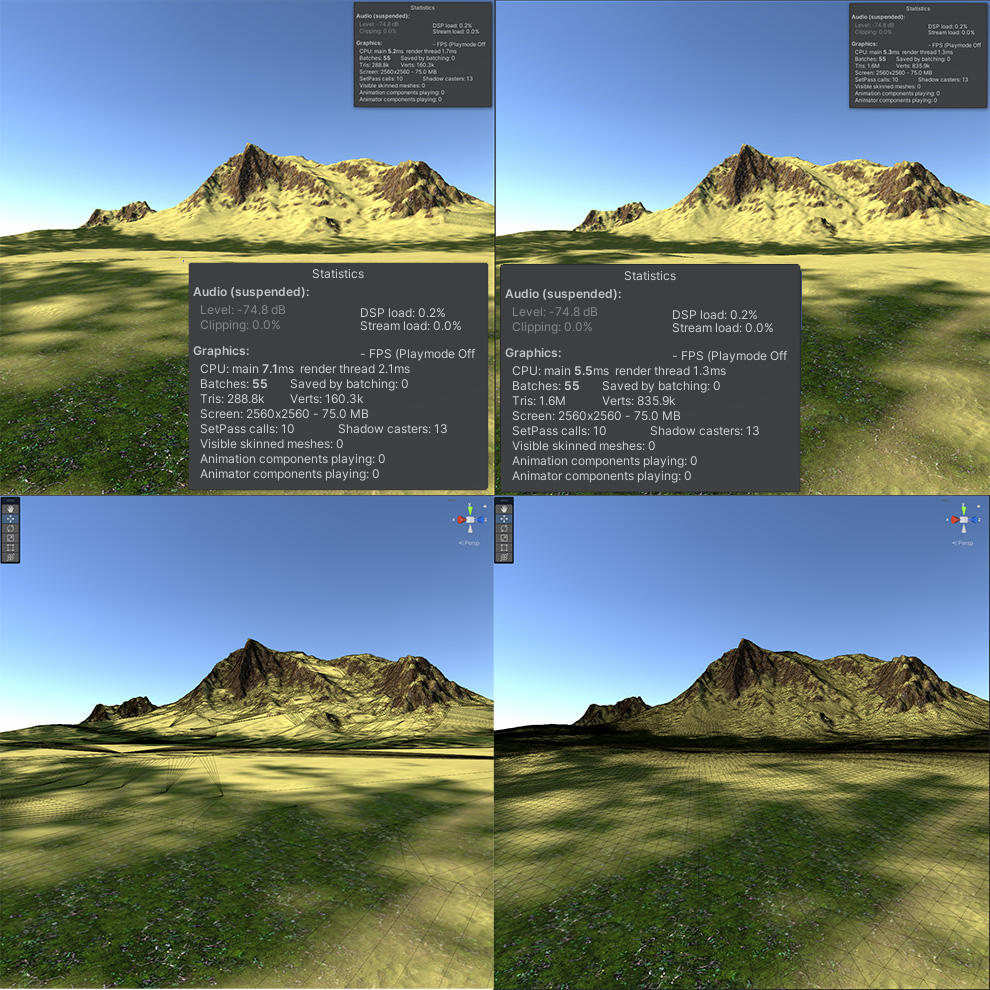
Terrain mesh at full resolution with mesh simplification (left) with settings:
• Slope Threshold: 0.25.
• Max Number of Segments to Combine: 32.
Terrain mesh at full resolution without mesh simplification (right):
Materials
Two types of materials can be generated with the terrain mesh.
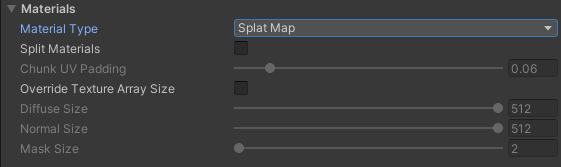
Splat Map material renders the terrain mesh similar to the Unity terrain except that it renders
the mesh in a single pass, and it supports 32 terrain layers.
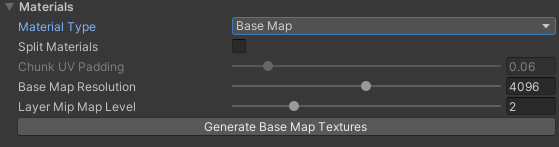
When Base Map material is selected, a color map and a normal map are generated for the terrain.
You can set the resolution of the color map and the normal map up to 8192 pixels.
Split Materials option is effective when the number of chunks is greater than 1. If enabled, textures will
be split with the chunks, so that each chunk has its own splat/base/normal/hole map texture and material. This provides
better texture memory full-print and better streaming for large terrains.
Chunk UV Padding is the uv padding for the chunk splat/base/normal/hole maps. Set this higher than zero if
there are visible seams between chunks. You could also try with clean-cut chunks option with an even
chunk count.
When Splat Map material is selected, you can override texture array size of each texture type. This is useful
when you want to use a smaller texture array size for a specific layer.
Export Objects
Setting to enable exporting trees, grass and detail meshes from the Unity terrain data.

Trees are exported under Trees game object, which is the child of the generated terrain game object.
If there are chunks, each chunk will have Trees game object as the parent.
Exported trees are the original prefab instances, and their transforms are read from the terrain data.
Details are exported under Details game object, which is the child of the generated terrain game object.
If there are chunks, each chunk will have Details game object as the parent.
Exported details are mesh prototypes for detail mesh, or quad meshes for grass.
Exported grass has a Billboard grass rendering feature but doesn't have color variation, distance fading and wind features yet.
Mesh Settings
Options for processing holes and making tileable meshes.

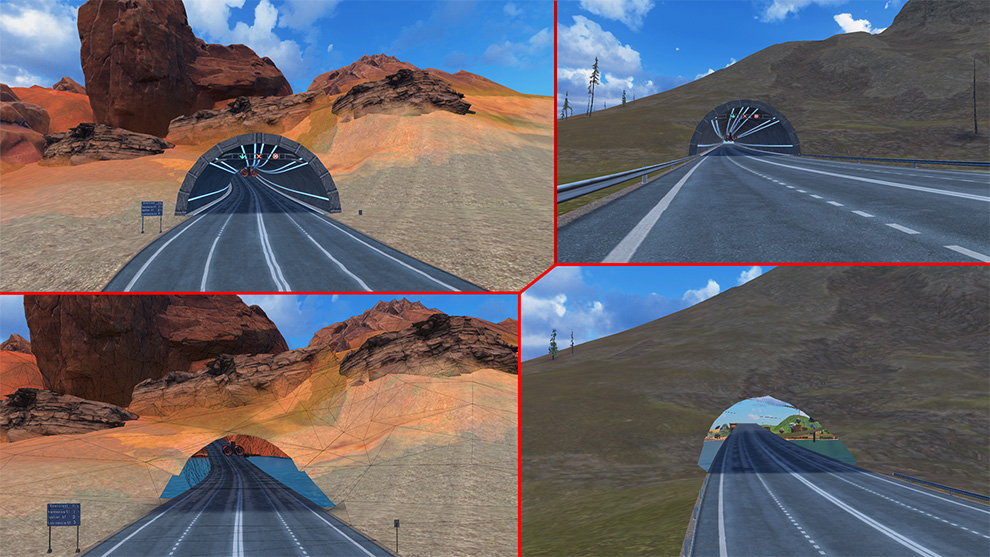
If Cut out Holes From the Mesh is enabled, the generated mesh will have the same holes painted on the terrain.
This is necessary for accurate colliders if you have tunnels or rooms passing through the terrain.
Note that when you enable this option, set the resolution to max and enable mesh simplification, so that
holes on the mesh will exactly match with the original terrain holes.
Generate Tileable Mesh is useful for creating tileable meshes. If you already have a tileable terrain,
enable this so that the generated mesh will be perfectly tileable.
• Note that this feature only makes tileable meshes. It doesn't generate seamless splat map textures. If you want also
seamless texture generation for both Unity and mesh terrains, check our Terrain Tiler asset.
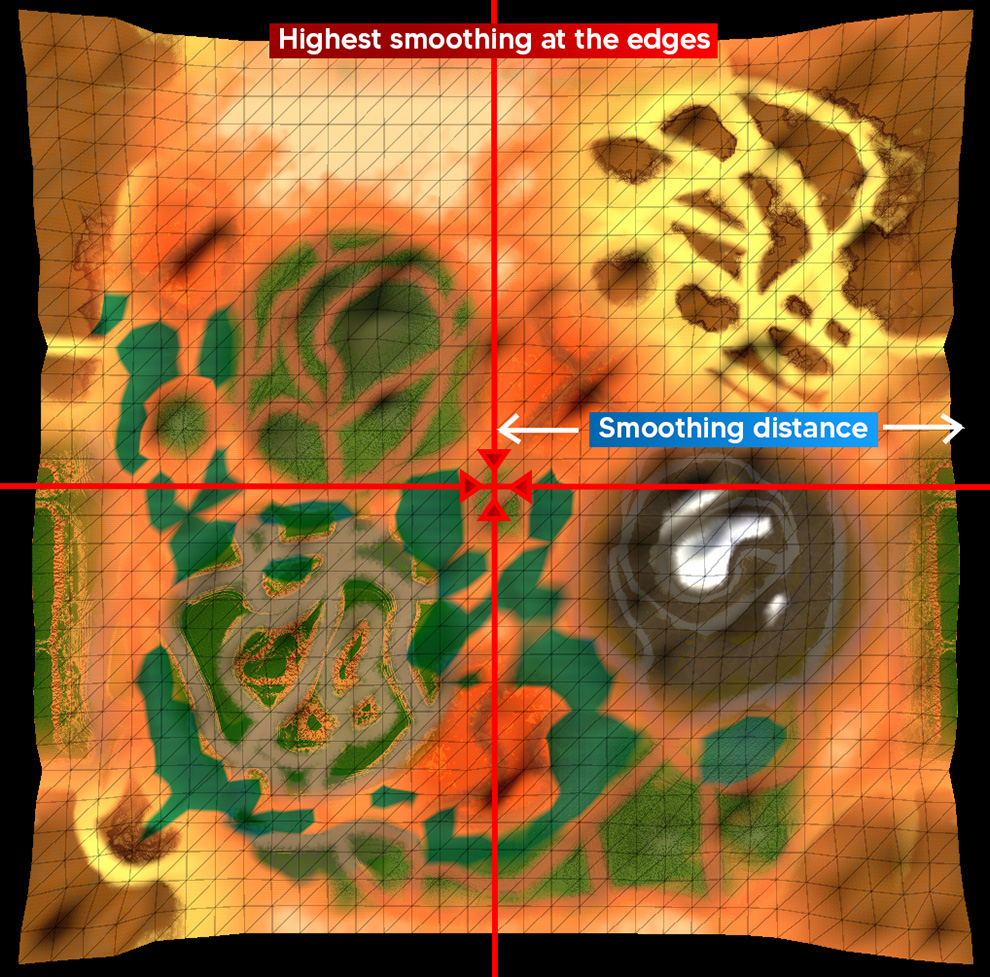
Edge Blend value is the percentage of smoothing distance from edges to the center of the terrain.
Recalculate Normals is the option that disregards the terrain normals, and recalculates mesh normals.
Tiling
If you have the Terrain Tiler asset, enable the Stitch Mesh With Neighbors option.
Generate tileable terrains from the Terrain Tiler component first, then generate meshes from the Mesh Terrain Builder component.
All the terrains connected to each other will be converted to mesh terrains and seamlessly stitched together.
* Note that only the terrains that are active in the scene will be processed.
If you don't have the Terrain Tiler asset, just add the Terrain Tiler component to the terrain game object,
then generate the mesh terrain from the Mesh Terrain Builder component. The terrains will be converted to mesh terrains and stitched together without smoothing.
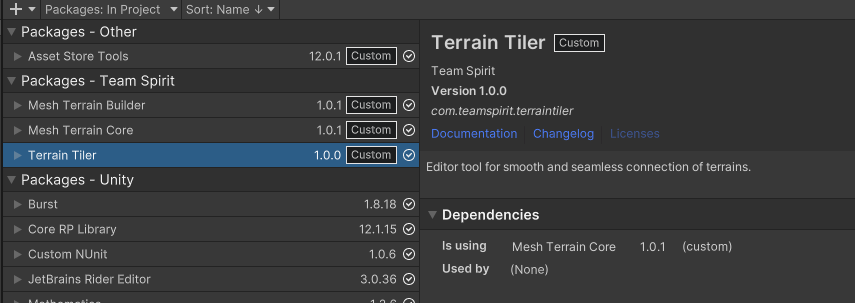
TERRAIN TILER
Installation
After downloading and importing the Unity Package, Terrain Tiler will be installed as a UPM package
in the Packages directory along with the Mesh Terrain Core package.
To check if the packages are installed successfully, follow these steps:
1. Open the Unity Package Manager window by selecting Window > Package Manager.
2. Locate the Terrain Tiler and Mesh Terrain Core packages in the list of packages.
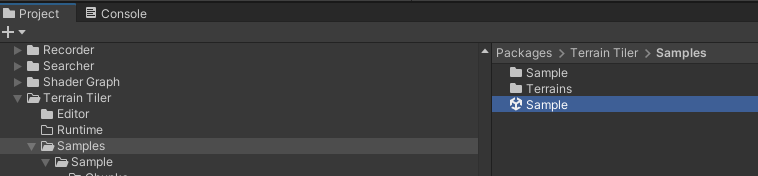
3. You can now access the samples from the Project Window, under Packages/Terrain Tiler/Samples folder.
Quick Start
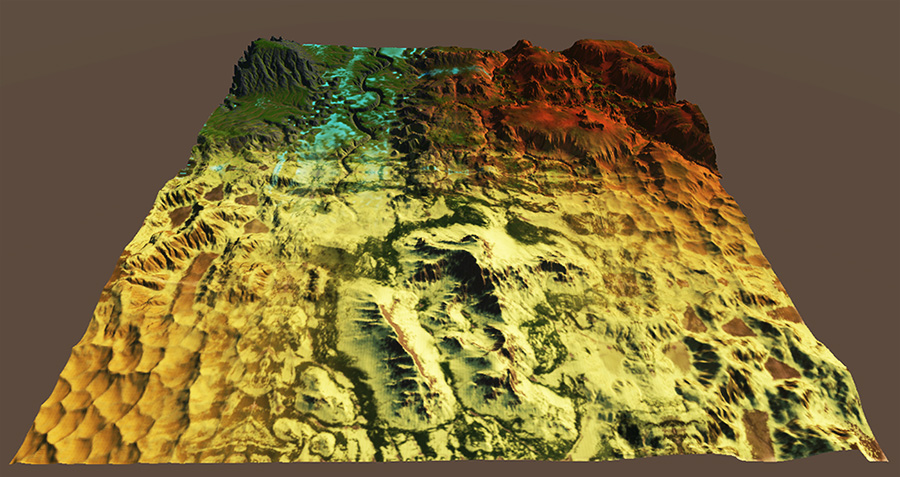
Open Sample scene under Packages/Terrain Tiler/Samples folder:
Click one of the terrains from Hierarchy and locate the Terrain Tiler component in the Inspector:

This is a Unity terrain with a Terrain Tiler component attached. You must have the Terrain Tiler component attached to the game object to smoothly connect to other terrains.
Hitting the Tile With Current Neighbors button will start smoothing with these settings.
After tiling is complete, the new terrain data will be set in the terrain component. Output Terrain property on the Terrain Tiler component is set to the new terrain data as well.
If Auto Tile property is enabled with Snap to Neighbor Grid, terrain will be snapped to the closest neighbor edge on mouse drag and tiling will automatically start.
Blend Settings
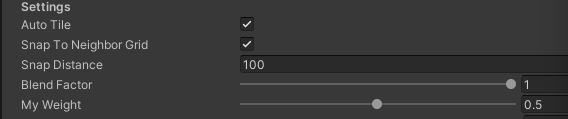
Blend Factor defines how far the blending should be done from edges inwards.
0: No blending will occur.
0.5: Height map and splat maps are smoothed to the center.
1: Height map and splat maps are smoothed at most to the opposite edge.
Note that final blending amount is determined regarding the neighbor terrain sizes and other Terrain Tiler blend factors.
My Weight value specifies the strength of this terrain's height map and textures on neighbor terrains. This value is relative, so you should check the neighbor weights as well.
Self Tiling
Make Tileable With Self button will make this terrain seamlessly connect with its copies regarding the Blend Factor value.
Disable Auto Tile before using this feature, so the copies will not run tiling again.
Caveats
• For best results, connect terrains with the same size and resolution.
• Although supported, it is not recommended to connect terrains with different sizes, because Unity will not connect terrain neighbors and lods at the edges will not match.
• For the same reason, terrains should not be connected at arbitrary positions. Terrain Tiler correctly smooths heights and textures though.
• Use the same layer settings between terrains that share the same textures, otherwise Terrain Tiler will copy those layers to ensure seamless texture tilings at the edges.
• In each terrain layer, set tiling offset to zero and set tiling size divisible by terrain size; otherwise the layer will be copied in the neighbor terrain to match tiling at the edges.
• Organizing each terrain layer to have a tiling size that is power of two will minimize the output layer count.
• Non-square and non-power-of-two terrain sizes are not supported.
CONTACT AND SUPPORT
PRIVACY POLICY
TERMS AND CONDITIONS Volkan Cinar © 2025